Maker’s notebook · 5 min read
Orienting and supporting miniature furniture: surfaces to protect
Decide which faces a viewer will see, put support contacts on the others and read the islands in the layer preview, using two measured catalogue pieces.
Updated
| Piece | Islands | Surface facing down | Touching the bed |
|---|---|---|---|
| Mid-Century Lounge Chair · supports: heavy | 25; first 20.1 mm up, widest 44.3 mm | 23 % | 0.5 % of the footprint |
| Coastal Dining Sideboard With Central Drawers · supports: none | 0 | 0.9 % | 92 % of the footprint |
Orientation decides where a print carries its marks. Support contacts can mark the surface they touch, and on an FDM printer a surface built on top of supports comes out rougher than one printed freely. You cannot avoid supports on most furniture, but you can choose where they touch. For a dollhouse piece, that choice starts with the viewer, not with the printer.
There is no orientation or angle that suits every model, and this guide does not prescribe one. It shows how to reach a decision for one piece. We have no slicer screenshots and no test prints to show: Figure 1 is a schematic, and the measurements beneath it come from our digital checks of the delivered files.
Identify the visible faces
A dollhouse room is seen from one side, through the open front. Before opening the slicer, decide which faces of the piece will be seen once it stands in the room, and which will face the floor, the wall or the inside of a cabinet.
For a chair, the visible faces are usually the seat, the front of the backrest, the tops of the arms and the front of the legs. The underside of the seat and the insides of the legs are rarely seen. The back of the backrest is hidden only if the chair stands against a wall; placed side-on beside a table, as in our room planning example, it may be in full view. For a sideboard, the front and the top matter; the back and the underside do not.
Printer makers say the same. Formlabs recommends orienting parts so that surfaces that are complex or aesthetically critical face away from the supports as much as possible. Prusa’s modelling guidance makes the FDM version of the point: a surface printed on the bed is flat and smooth, while one printed above supports looks more inconsistent and rough.
Compare contact locations
With the visible faces marked, rotate the model and ask where the contacts would land. Figure 1 shows the idea on a schematic chair: contacts under the seat and on the back of the backrest, none on the seat top or the front.
On a resin printer, Formlabs describes supports as a raft, scaffolding and touchpoints, the small areas where the scaffolding meets the model. Its orientation guide adds three points that apply well to furniture. Parts should branch off a common base as they grow rather than start separately and merge later. Hollow models and concave surfaces risk creating suction cups during printing. And parts should be oriented so that the cross-section changes gradually from layer to layer.
On an FDM printer, Prusa gives 45 to 60 degrees as the overhang range a printer can cleanly print without support, depending on the nozzle and settings. PrusaSlicer’s support settings include painted supports, support enforcers and support blockers, so you can keep automatic supports off a visible face and add them where you want them. Our FDM check also looks at how much of the footprint touches the bed. When that share is under 10%, as on a chair standing on four legs, it recommends a brim or a raft.
Think about removal as well as placement. A contact between two rear legs may be valid in the slicer and impossible to reach with cutters afterwards, and the effort of removing it can break a thin rail. If thin parts worry you, read why small parts break before choosing.
Inspect islands and layers
An island is a region of a layer that starts in mid-air, with nothing beneath it. Our check slices each delivered file in its supplied orientation at 0.1 mm layers and counts the islands at least 1 mm wide. The table under Figure 1 shows two very different results at 1:12:
- The Mid-Century Lounge Chair has 25 islands. The first begins 20.1 mm above the base and is 44.3 mm wide, which on a chair of this shape is most likely the underside of the seat. 23% of its surface faces downward by more than 50 degrees from vertical, and its legs cover 0.5% of its footprint. Its supports estimate is heavy.
- The Coastal Dining Sideboard With Central Drawers has no islands, 0.9% of its surface faces downward, and its base covers 92% of its footprint. It needs no supports in its supplied orientation.
When our check sliced the chair’s 1:12 file in PrusaSlicer 2.9.6 with supports switched off, the slicer warned of “floating bridge anchors”, “low bed adhesion” and “loose extrusions” and suggested enabling supports. That is what a missing support looks like before a print: a warning and a layer that begins on nothing.
In your own slicer, move the layer slider to the height where the first island appears and check that a support reaches it. Continue upward and stop at every new island. After each rotation, repeat the check: turning the chair changes which layers start in mid-air and how many contacts it needs. When two orientations are close, keep the one whose contacts fall on faces you listed as hidden.
Record the orientation with the rest of your print notes, so a successful setup can be repeated. Contact marks that remain can be sanded and primed before painting; the painting guide covers that preparation. For the process decision that comes before orientation, see resin vs FDM for dollhouse furniture.
Common questions
What angle should I tilt a miniature chair?
There is no universal angle. Tilting changes where islands begin and where contacts land. Compare two or three orientations in your slicer’s layer preview and keep the one that puts contacts on faces you will not see.
Why does a piece page say heavy supports?
Our digital check found islands, places where a layer starts in mid-air, or a large share of downward-facing surface in the file’s supplied orientation. It describes the work involved, not a defect.
Can a piece print with no supports?
Some can. On 29 September 2026, 5 of our 133 single designs need none in their supplied orientation, and 21 need light supports. Pieces with legs, arms or open undersides usually need them.
From the cabinet
Try it with a real design.
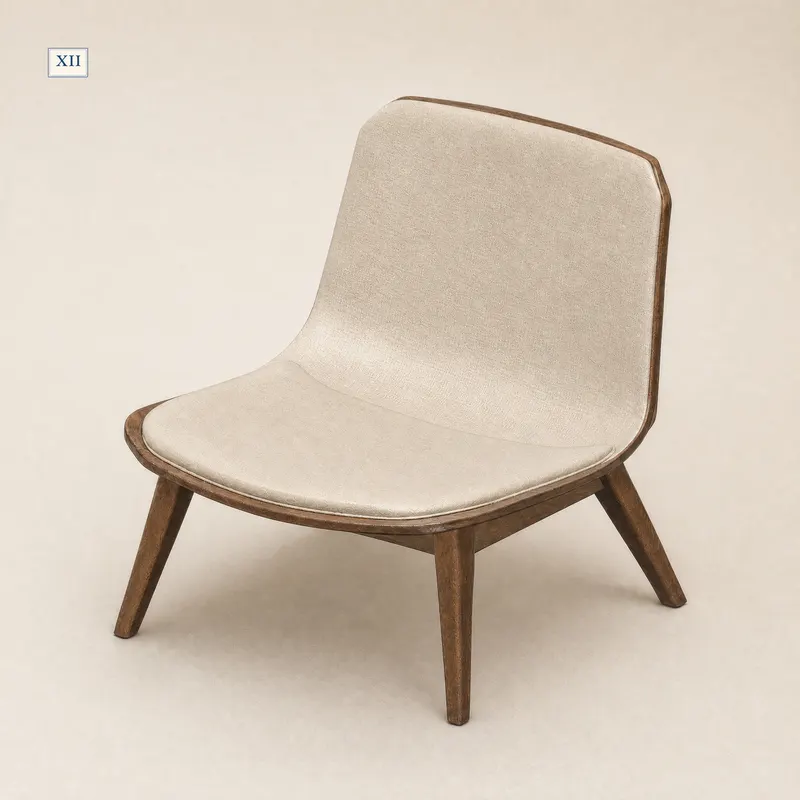
Mid-Century Lounge Chair
Heavy supports: 25 islands at 1:12, the first 20.1 mm above the base. Find that layer in the preview before placing any other contact.
- 1:12
- 65.6 × 70.8 × 65.9 mm
- 1:24
- 32.8 × 35.4 × 32.9 mm
- 1:6
- 131.1 × 141.7 × 131.7 mm
Dimensions of the supplied files: width × depth × height. Room scenes illustrate the design; they are not physical print test records.
Check this piece’s details and sizes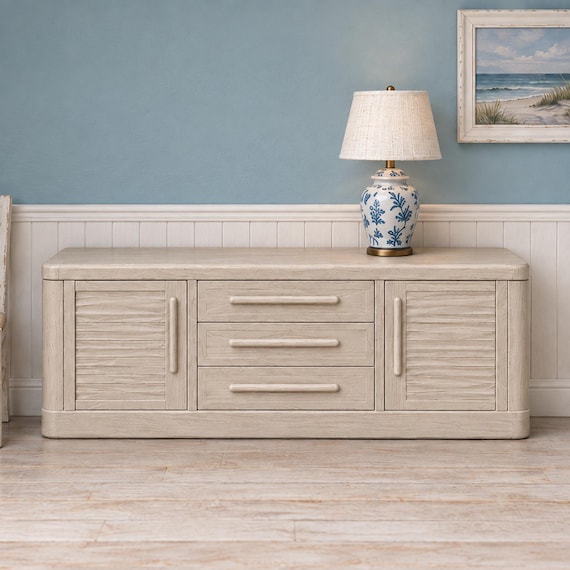
Coastal Dining Sideboard With Central Drawers
No supports needed in its supplied orientation: no islands, and 92% of its footprint rests on the bed.
- 1:12
- 150.0 × 34.7 × 48.5 mm
- 1:24
- 75.0 × 17.3 × 24.2 mm
Dimensions of the supplied files: width × depth × height. Room scenes illustrate the design; they are not physical print test records.
Check this piece’s details and sizes