Maker’s notebook · 5 min read
How to plan a dollhouse room before buying furniture
Measure the usable floor, place the largest piece first and check the gaps you need to reach, light and see the room. A worked 1:12 living-room plan.
Updated
| No. | Piece | At 1:12 (W × D × H) | At 1:24 (W × D) |
|---|---|---|---|
| 1 | Mid-Century Walnut Sofa | 175 × 68.6 × 65.3 mm | 87.5 × 34.3 mm |
| 2 | Mid-Century Kidney Coffee Table | 100 × 50.9 × 29.8 mm | 50 × 25.4 mm |
| 3 | Mid-Century Lounge Chair | 65.6 × 70.8 × 65.9 mm | 32.8 × 35.4 mm |
| 4 | Mid-Century Credenza | 150 × 38.4 × 65.9 mm | Not in the pack |
A dollhouse room is judged from one side. Unlike a real living room, you look into it through an open front, and every piece competes for the same view. Planning on paper first shows whether the furniture you like will fit, whether it will be seen, and whether you can still reach the back wall once it is in place.
The plan above is a worked example at 1:12. Its footprints are the measured sizes of four real files from our catalogue; the room itself is illustrative. The same steps work for any scale and any furniture.
Measure the usable floor
Measure inside the room, from wall to wall, at floor level. Then subtract everything that takes floor space away: skirting boards, a fireplace breast, a stair opening, the swing of a working door. Note the ceiling height, the height of any windowsill and the position of lights or wiring you intend to keep.
Write down which side is the open front. It is the one edge you never place furniture against, because anything tall there hides the room. Our example room is 305 × 254 mm inside, which is 12 × 10 inches and represents a room of roughly 3.66 × 3.05 metres. If you are working from a full-size room, convert its measurements with the dollhouse scale calculator before drawing.
Draw the outline on squared paper at full miniature size, or at a fixed reduction such as 1 square = 5 mm. Drawing at full miniature size has one advantage: you can place the real printed pieces or paper cut-outs directly on the plan.
Place the largest piece first
The largest piece decides what else can fit, so position it before anything else. In most living rooms that is the sofa; in a dining room the table; in a bedroom the bed or a wardrobe. Compare the furniture footprints you are considering and cut a rectangle for each at its real width and depth.
In the plan, the sofa (1) sits centred on the back wall, facing the open front. At 1:12 its supplied file is 175 mm wide, more than half the room’s width. That single decision fixes the axis of the room: the coffee table (2) goes on the centre line in front of it, and the remaining pieces fill the sides.
Use the dimensions of the files you will actually print. On our piece pages, measured file dimensions take precedence over the full-size design brief, and they can differ in depth or height. The table under the plan uses those measured figures. The four pieces in this example come from our mid-century collection, and our mid-century dollhouse living room guide covers their heights, wood tone and wall colour.
Leave the gaps you will need
Space between pieces is part of the design. It lets the room read as a room, and it lets you reach in to straighten a cushion or add a book. In the example:
- Sofa to table: 37.5 mm, which is 450 mm full size. Close enough to read as a seating group, open enough to see the table’s shape.
- Chair to table: about 24 mm. The lounge chair (3) is turned side-on, so its seat faces the table rather than the viewer.
- Table to sideboard: about 64 mm. This is the widest path in the room and the one your hand will use to reach the back wall.
- Table to open front: about 97 mm. This clear foreground stops the table from blocking the view of the sofa.
These gaps are our choices for this composition, not dimensions from a standard. A narrow corridor room, a crowded Victorian parlour or a sparse modern room will want very different spacing. What matters is that you decide the gaps on paper instead of discovering them after printing. In this same room, our Victorian room layout around a sideboard leaves 50 mm between the sideboard and the table instead of 37.5 mm.
Test access and sightlines
Stand where a visitor will stand and look at the plan from the open front. Tall pieces belong towards the back or against the side walls, where they frame the view instead of blocking it. Low pieces can come further forward.
A piece on a side wall is seen at an angle. The credenza (4) on the right wall shows its end and part of its front to the viewer; if its drawer fronts are the detail you care about, move it to the back wall and put the sofa on a side wall instead. Neither arrangement is wrong. The plan lets you see the trade-off before committing.
Check heights as well as footprints. The credenza’s file is about 66 mm tall at 1:12; compare that with the height of any windowsill or shelf on the wall behind it. A tall bookcase or wardrobe needs room below the ceiling and, in an attic room, below the slope at the point where it stands.
Finally, check how you will light and photograph the room. A lamp needs a place and, if it is wired, a route for its cable. Leave a little space behind the pieces you expect to move.
The same plan at another scale
To reuse the layout at 1:24, halve every measurement: the room becomes 152.5 × 127 mm and the sofa-to-table gap 18.75 mm. Check that each file exists at the new scale before you plan around it. In this example the credenza pack is supplied at 1:12 only, so a 1:24 version of the room would need a different sideboard.
Once the layout works, choose a room direction for colour, wall pattern and finish. A settled plan makes that choice easier, because you know which surfaces the viewer will actually see. For the principles behind the ratios themselves, see the dollhouse scale chart.
Common questions
What size is a typical 1:12 dollhouse room?
There is no single standard. Measure the inside of your own room, wall to wall, and subtract skirting boards, fireplaces and any trim that projects into the floor. The 305 × 254 mm room in this guide is an example, not a norm.
Should I plan at 1:12 or at full size?
Either works if you stay consistent. Planning directly in miniature millimetres avoids converting twice. If you are copying a full-size room, convert its measurements first with a scale calculator.
How much space should I leave between pieces?
Enough for the room to read clearly from the open front and for your fingers or tweezers to reach what you will want to adjust. In the plan below we used 450 mm full size (37.5 mm at 1:12) between the sofa and the table; treat it as a starting point, not a rule.
From the cabinet
Try it with a real design.
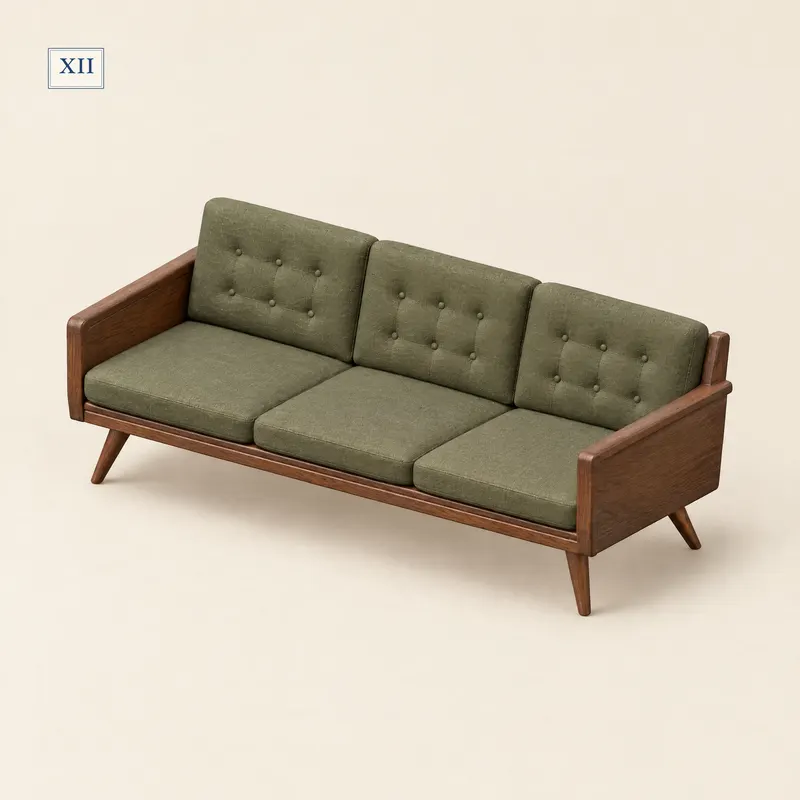
Mid-Century Walnut Sofa
Piece 1 in the plan. At 1:12 its file takes 175 mm of the back wall, so it fixes the axis of the room before anything else is placed.
- 1:12
- 175.0 × 68.6 × 65.3 mm
- 1:24
- 87.5 × 34.3 × 32.6 mm
- 1:6
- 350.0 × 137.2 × 130.5 mm
Dimensions of the supplied files: width × depth × height. Room scenes illustrate the design; they are not physical print test records.
Check this piece’s details and sizes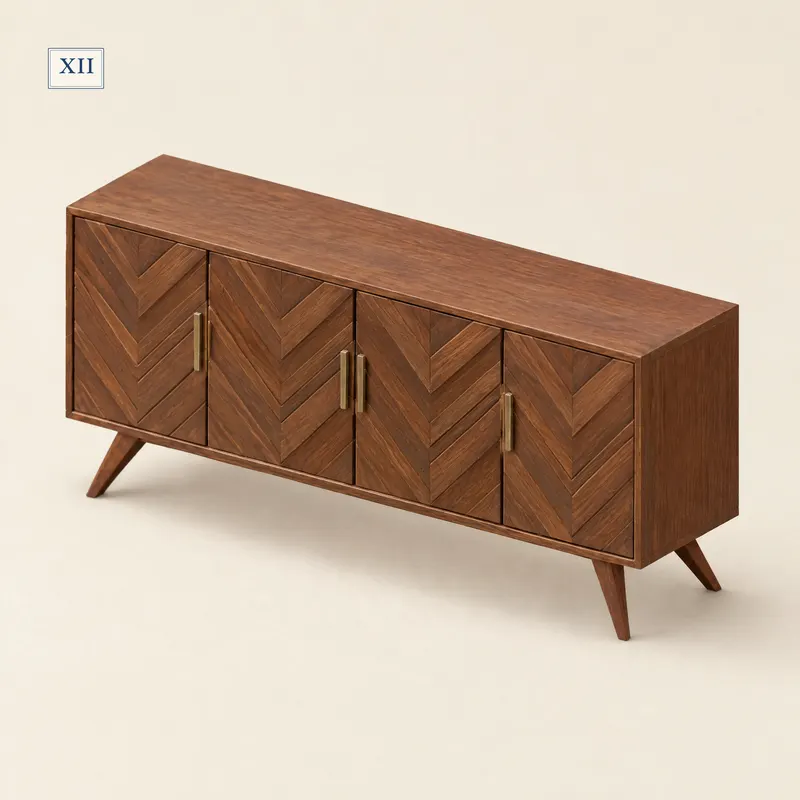
Mid-Century Credenza
Piece 4 in the plan. Its pack is supplied at 1:12 only; a 1:24 version of this room needs a different sideboard.
- 1:12
- 150.0 × 38.4 × 65.9 mm
Dimensions of the supplied files: width × depth × height. Room scenes illustrate the design; they are not physical print test records.
Check this piece’s details and sizes