Maker’s notebook · 5 min read
Dollhouse interior styles: choose a direction for your room
Compare miniature room styles, choose an anchor piece and connect furniture, colour and wallpaper without overcrowding your dollhouse.
Updated
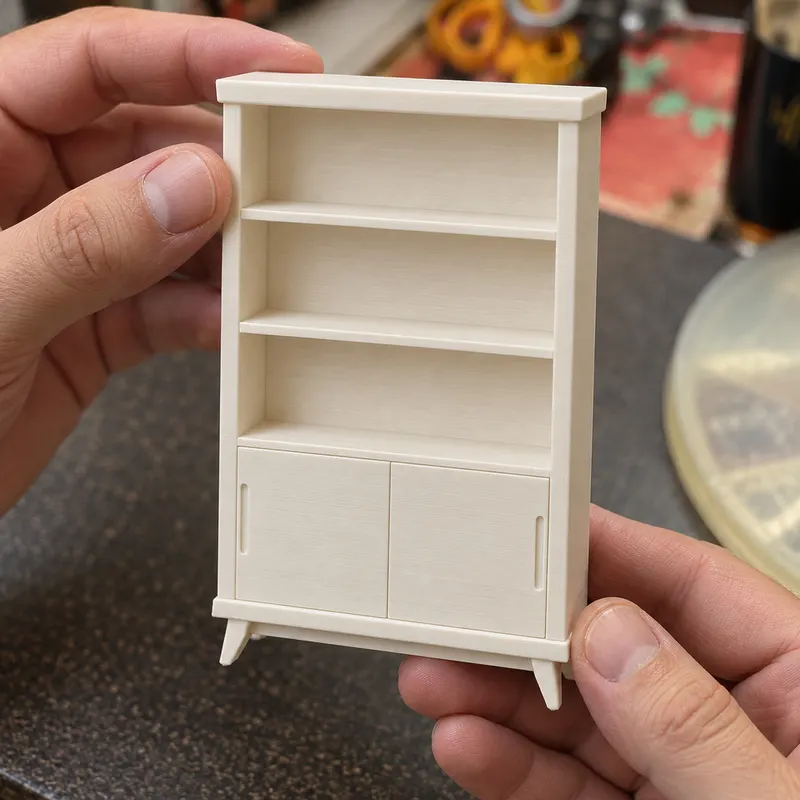
A convincing dollhouse room begins with a clear choice: what should catch your eye first? It might be the outline of a cabinet, the arrangement around a table or a patterned wall. Choose that starting point before collecting a roomful of pieces. You can then make the rest of the room support it.
This guide uses the Cabinet Douze collections as a set of creative directions. It is a practical planning guide, not a catalogue of authenticated historical reproductions. You can build a room around one period, mix several influences or invent a setting for a character.
Start with the room and its main job
Write a one-sentence brief, such as “a quiet reading room with a generous chair and a wall of books.” It tells you which furniture is essential. A bedroom needs somewhere to sleep; a study needs a useful-looking work area. A scene does not need every accessory associated with its style to communicate its purpose.
Next, choose your viewing position. A tall cabinet at the front may hide the chair that makes the room interesting. A shallow arrangement can work better in a shelf display than a complete set placed behind a narrow opening.
Resolve scale before style. Two pieces with similar decoration can still be incompatible in size. Use the dollhouse scale chart to establish the ratio, then the furniture dimension examples to sketch the actual floor space. Style will not fix a table that leaves no space for its chairs.
Compare five directions for your miniature room
These are composition suggestions using our collections, rather than rules about how every room in a period should look.
Victorian: let one ornate piece lead
A decorative cabinet or an expressive chair can give a Victorian miniature room a strong focus. Leave a quieter surface beside it so the relief remains visible. If you want a patterned wall as well, try it behind the simplest furniture first. Several busy outlines against an equally busy pattern can make a tiny scene difficult to read. For a measured example, see how to plan a Victorian room around a sideboard.
Mid-century: work with the furniture outlines
Start a mid-century room with a low storage piece, a table or a chair whose silhouette you enjoy. Compare the heights as a group and keep some floor visible around them. Repeating a wood colour across two pieces can connect their different shapes without making every object identical. Our mid-century living room guide compares the available pieces, their heights and a palette.
Contemporary: choose fewer, clearer relationships
In a contemporary miniature room, try one dominant furniture shape and a limited palette. A quiet wall can make an unusual outline easier to appreciate. “Simple” still needs planning: the space between objects becomes conspicuous when there are fewer decorative details to distract from it.
Medieval: decide on the scene before the props
A study, a hall and a fantasy workshop need different arrangements, even when they share medieval-inspired furniture. Pick the room’s activity, place the largest useful object and then add supporting pieces. For a researched period scene, check dated references separately; for an invented setting, keep its proportions and material palette internally consistent. For a measured example, see how to plan a medieval-inspired roombox.
Y2K: repeat an accent instead of filling every corner
For a Y2K-inspired miniature room, choose one playful form or accent colour as the starting point. Repeat it in a smaller detail elsewhere, then give it calmer surroundings. Test the composition at its real miniature size: an accent that looks subtle in an enlarged image may dominate a small room. Our Y2K bedroom plan places five of these pieces in a measured room.
Connect furniture, colour and wallpaper
Put the main furniture, wall sample and floor sample together before committing to the finish. Look for a clear outline between the furniture and its background. Contrast can come from lightness, colour or surface detail; it does not have to mean a bright accent.
Make the pattern work at the same viewing distance as the furniture. A large repeat can become the room’s main feature, while a smaller repeat can read as texture. Print a test section at the intended size and hold it behind the anchor piece. The paper wallpaper guide explains scale, print settings and pattern joins. Our own printable wallpapers and floors are sold as digital downloads on Etsy.
Plan the finish with the room in mind. A dark recess can reveal a carving, but heavy contrast across every joint may overpower the scene. Use the miniature painting guide to plan thin coats and a restrained palette. Illustrated room scenes show possible combinations; they are not records of physical painting tests.
Mix styles with one visible connection
A mixed room is easier to organise when the pieces share something you can name: rounded edges, a warm wood tone, a repeated colour or a similar visual weight. Pick one connection and assess it before adding another. Two measured groups show how to mix furniture styles around one shared feature.
Keep the practical relationships intact. Check seat and table heights, the reach of a projecting cornice and the amount of wall left around a bed. Matching a labelled scale does not guarantee that every pair of furniture pieces works together.
If you are aiming for a specific historical interior, begin with dated museum objects, architectural records or photographs appropriate to the setting. Keep those references alongside the plan. A broad collection name is a browsing aid, not evidence for an exact place or year.
A room plan you can use before choosing files
- Write the room’s purpose and choose the main viewing direction.
- Record the internal width, depth, height and scale.
- Choose one anchor piece and draw its full footprint.
- Add the supporting pieces, checking what they hide as well as where they fit.
- Compare the wall pattern and proposed finishes together at miniature size.
- Open each piece’s dimensions and printing notes before following its Etsy listing.
To plan the layout around your anchor piece, follow our measured 1:12 living-room example. Keep a photograph of the paper layout and your colour samples. It makes the next choice much easier: you have a room to complete, rather than an unlimited list of attractive objects.
Common questions
Can I mix furniture from different styles in one dollhouse?
Yes. Keep the scale and neighbouring furniture heights compatible, then repeat a colour, material impression or shape. Give one piece the lead and let the others support it.
Does a style label guarantee historical accuracy?
No. Our collections offer design directions for miniature scenes. A historically researched room needs its own dated references for the architecture, furniture and decoration.
From the cabinet
Try it with a real design.
Mid-Century Architectural Library Bookcase
A tall bookcase draws the eye upward. Sketch its position against the wall before adding lower furniture, and leave its most distinctive outline visible.
- 1:12
- 106.5 × 32.5 × 166.7 mm
- 1:24
- 53.2 × 16.2 × 83.3 mm
Dimensions of the supplied files: width × depth × height. Room scenes illustrate the design; they are not physical print test records.
Check this piece’s details and sizes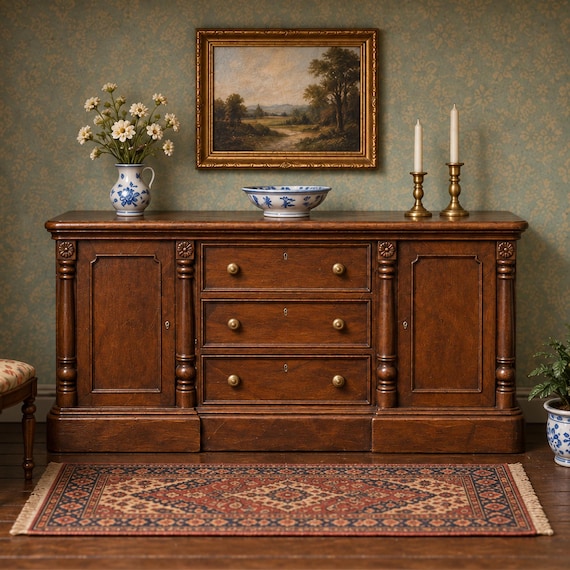
Victorian Dining Sideboard With Central Drawers
A long sideboard makes a different starting point: compare the open wall above it with the vertical space a bookcase occupies. Choose the shape that supports your room’s main view.
- 1:12
- 150.0 × 56.2 × 68.9 mm
- 1:24
- 75.0 × 28.1 × 34.4 mm
Dimensions of the supplied files: width × depth × height. Room scenes illustrate the design; they are not physical print test records.
Check this piece’s details and sizes